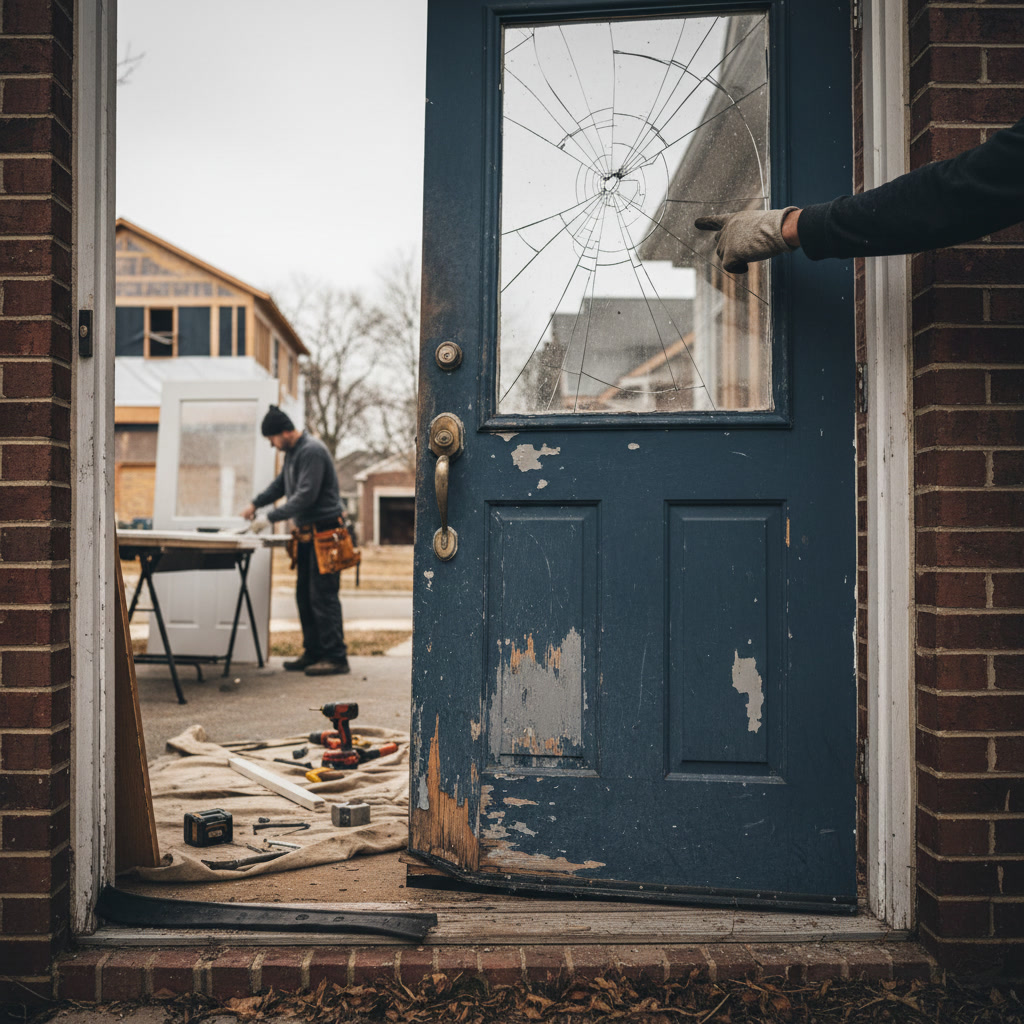
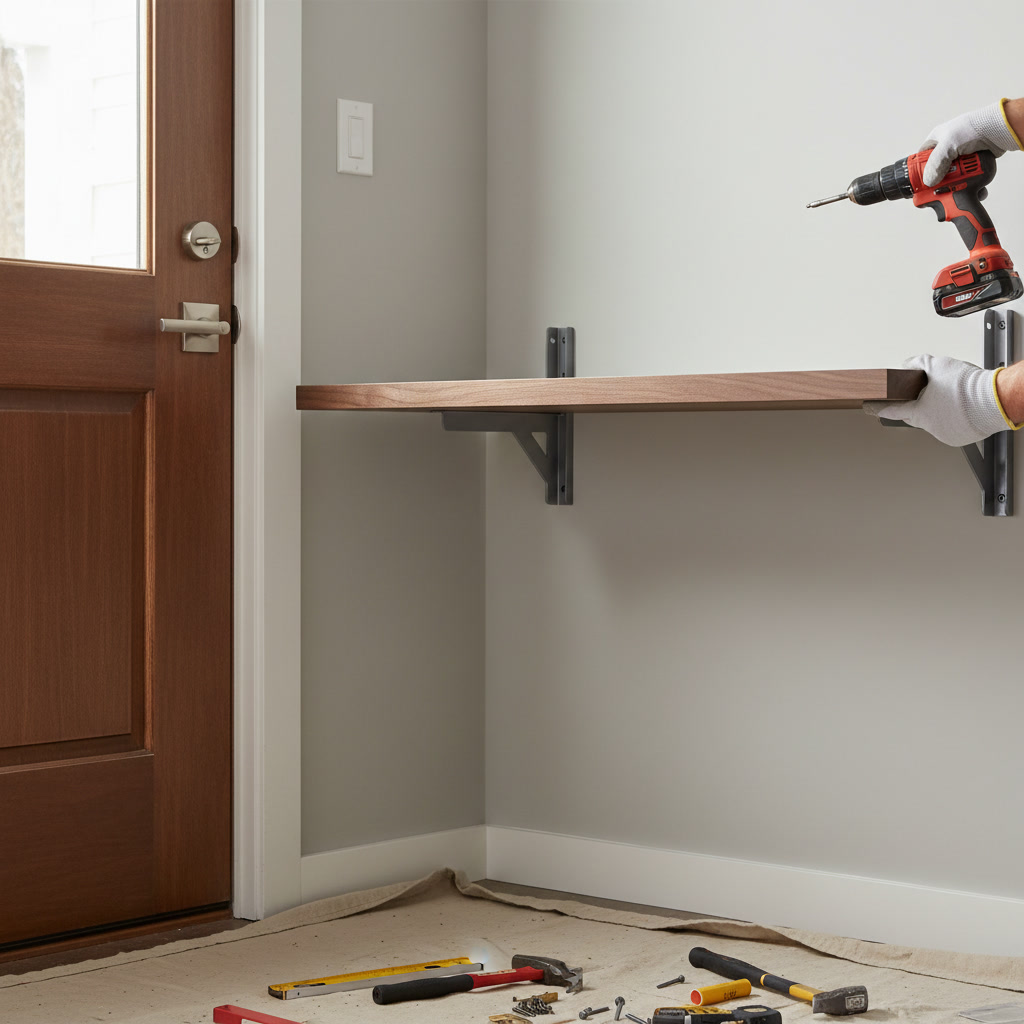
To install floating shelves that safely hold heavy weight, locate the wall studs and use heavy-duty mounting brackets rated for at least twice the expected load. Secure the brackets directly into studs with appropriate lag screws, ensuring each shelf is perfectly level before locking it in place. For loads over 30 pounds, professional-grade hidden bracket systems provide the best combination of strength and clean appearance.
Floating shelves offer a sleek, modern storage solution that maximizes space without visible supports. When properly installed, they can hold substantial weight, from hardcover book collections to decorative pottery and electronics. The key difference between a shelf that lasts years and one that fails after months lies in understanding your wall structure, choosing quality hardware, and following precise installation steps.
Why Wall Type Determines Everything
Your wall construction directly affects how much weight your floating shelves can safely support. Drywall alone cannot hold significant weight, with hollow wall anchors typically rated for only 10 to 15 pounds under ideal conditions. When you attach brackets directly into wooden studs, the holding capacity jumps to 50 pounds or more per stud connection, depending on screw size and bracket quality.
Homes in Alaska often feature different wall constructions than those in warmer climates. Many structures use thicker insulation and modified framing that can affect stud spacing and depth. Before you begin any shelving project, identify whether you have standard drywall over wood framing, plaster and lath, or concrete walls. Each requires different anchoring strategies and hardware.
The Right Hardware Makes or Breaks Your Project
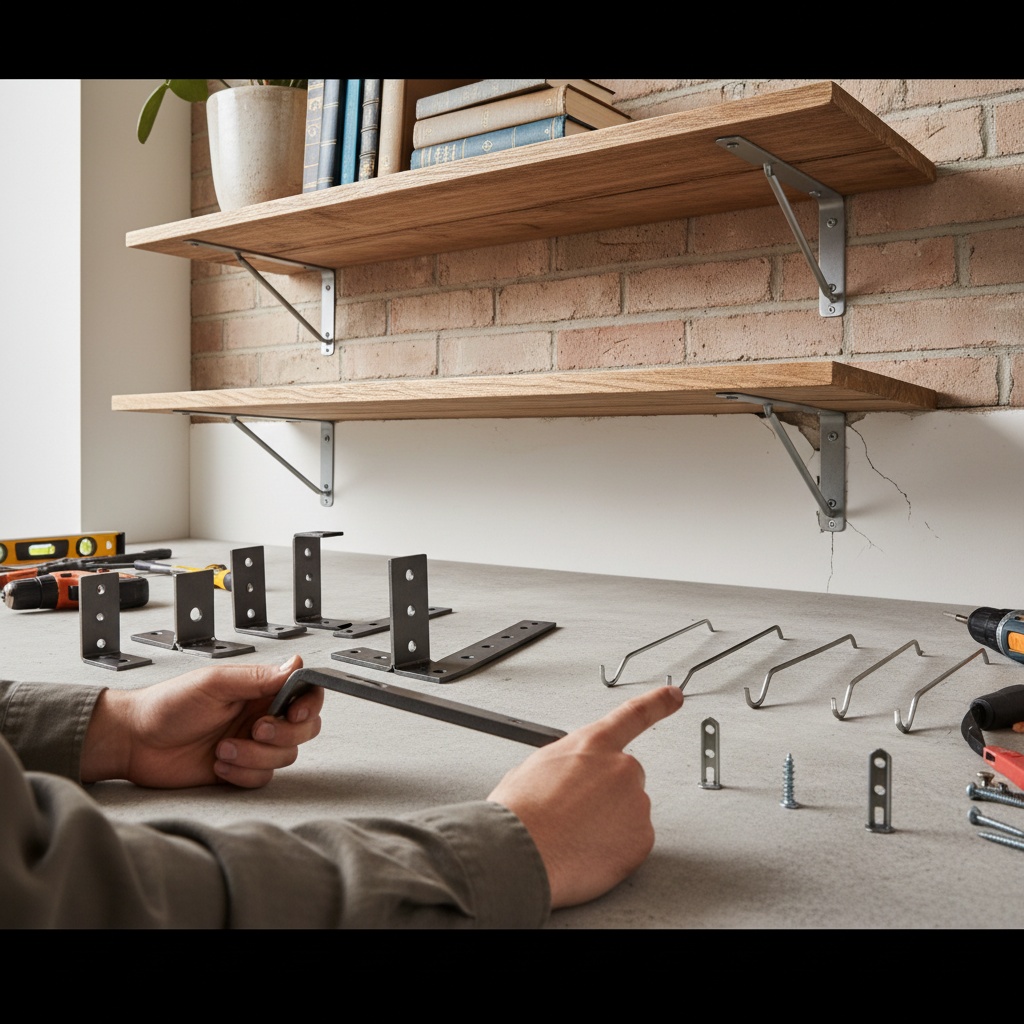
Heavy-duty floating shelf brackets come in several designs, but the most reliable for substantial loads are steel rod systems and internal rail mounts. Steel rod brackets use two or more metal rods that insert into a hollow shelf core, creating a cantilever support when anchored into studs. Internal rail systems hide a metal track inside the shelf that locks onto wall-mounted rails.
For shelves expected to hold 40 pounds or more, choose brackets made from steel rather than aluminum or zinc alloy. Check the manufacturer’s weight rating, but plan for a safety margin of at least 50 percent. If a bracket claims to hold 100 pounds, design your installation for 50 to 60 pounds maximum. This accounts for uneven weight distribution and the dynamic loads created when someone removes or places items on the shelf.
Finding Studs in Anchorage Homes
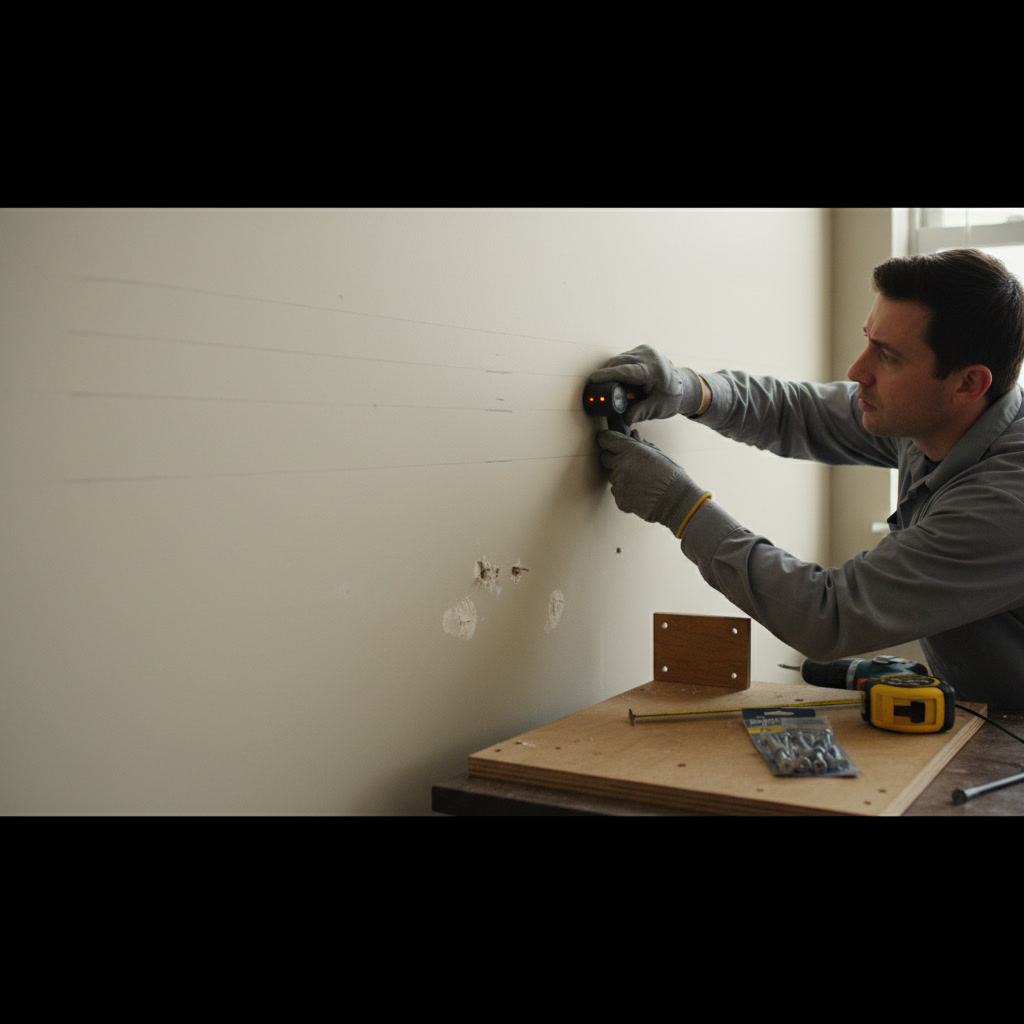
Stud finders work well in most situations, but older homes or those with multiple layers of wall treatment can confuse electronic sensors. The most reliable method combines three approaches: use an electronic stud finder, confirm the location by drilling a small pilot hole, and measure 16 or 24 inches from the confirmed stud to find the next one.
In the Anchorage area, many homes built before 1980 have irregular stud spacing or additional blocking that doesn’t follow standard patterns. When you locate a stud, mark its center line with light pencil marks extending several inches above and below your planned shelf height. This gives you a clear reference when positioning brackets.
Step-by-Step Installation Process
Start by measuring and marking the exact shelf location on the wall. Use a four-foot level to draw a light horizontal line where the bottom of your shelf will sit. Measure from the floor at multiple points to ensure the line stays parallel to the floor, as few floors are perfectly level.
Locate at least two studs within your shelf span. For shelves longer than 36 inches, three stud connections provide much better stability. Mark the center of each stud along your level line, then position your mounting bracket or rail at these marks. Drill pilot holes slightly smaller than your lag screws to prevent wood splitting while maintaining maximum grip.
Install the mounting hardware using lag screws at least 2.5 inches long for standard depth studs. Tighten screws gradually, alternating between mounting points to keep the bracket level. Over-tightening can strip threads in the wood or warp the bracket. Once the bracket is secure, verify it’s level before sliding or attaching the shelf.
For the shelf itself, ensure the hollow core or routed channel aligns perfectly with the mounting rods or rail. Some shelves require adhesive between the shelf and bracket for additional security. Slide the shelf onto the mounts slowly, checking that it seats fully before testing with weight.
When You Cannot Hit a Stud
Sometimes your desired shelf location doesn’t align with stud placement. In these situations, you have two safe options: reposition the shelf to hit studs, or install a mounting board first. A mounting board is a 1×4 or 1×6 piece of hardwood or plywood that you secure horizontally into studs, then attach your shelf brackets to the board.
This approach distributes weight across multiple studs and gives you flexibility in bracket placement. Paint or stain the board to match your wall, or position it behind the shelf where it won’t be visible. Toggle bolts and similar hollow wall anchors should never be your primary support for shelves carrying more than 20 pounds total, regardless of manufacturer claims.
Calculating Safe Weight Limits
A common mistake is assuming weight capacity is simply bracket rating multiplied by number of brackets. Real-world capacity depends on shelf material, span distance, and load distribution. A solid wood shelf 48 inches long will sag at the center under heavy loads even if the brackets hold firm. Limiting span to 36 inches or less for heavy loads helps prevent this.
Shelf material matters significantly. Three-quarter inch plywood core shelves with hardwood veneer can support more weight than MDF or particleboard alternatives. Solid hardwood provides the best strength but costs more and weighs more itself. When planning your installation, account for the shelf’s own weight as part of your total load calculation.
As a practical guideline, limit each 24-inch section of shelf to 25 pounds when using quality brackets in studs. A 48-inch shelf should carry no more than 50 pounds total, distributed somewhat evenly. Books are particularly deceptive because their combined weight adds up quickly. Ten hardcover books easily exceed 20 pounds.
Common Installation Mistakes That Lead to Failure
The most frequent error is using screws that are too short or thin for the load. Drywall screws are never appropriate for heavy floating shelves, even when driven into studs. They lack the shear strength of structural screws or lag bolts. Another common problem is failing to account for the leverage effect. A 30-pound object placed at the outer edge of a shelf creates much more stress on the mounting point than the same weight placed near the wall.
Homeowners sometimes mount shelves in locations that seem convenient but hide problems. Installing above baseboard heaters, near plumbing runs, or in walls that back up to shower surrounds can mean hitting unexpected obstacles or moisture issues. If you encounter resistance when drilling, stop and investigate rather than forcing the bit through unknown materials.
Similar to challenges faced during Shelving & Cabinet Installation projects, floating shelves require attention to the hidden structure behind your walls. Rushing the planning phase leads to shelves that look level initially but sag or detach over time.
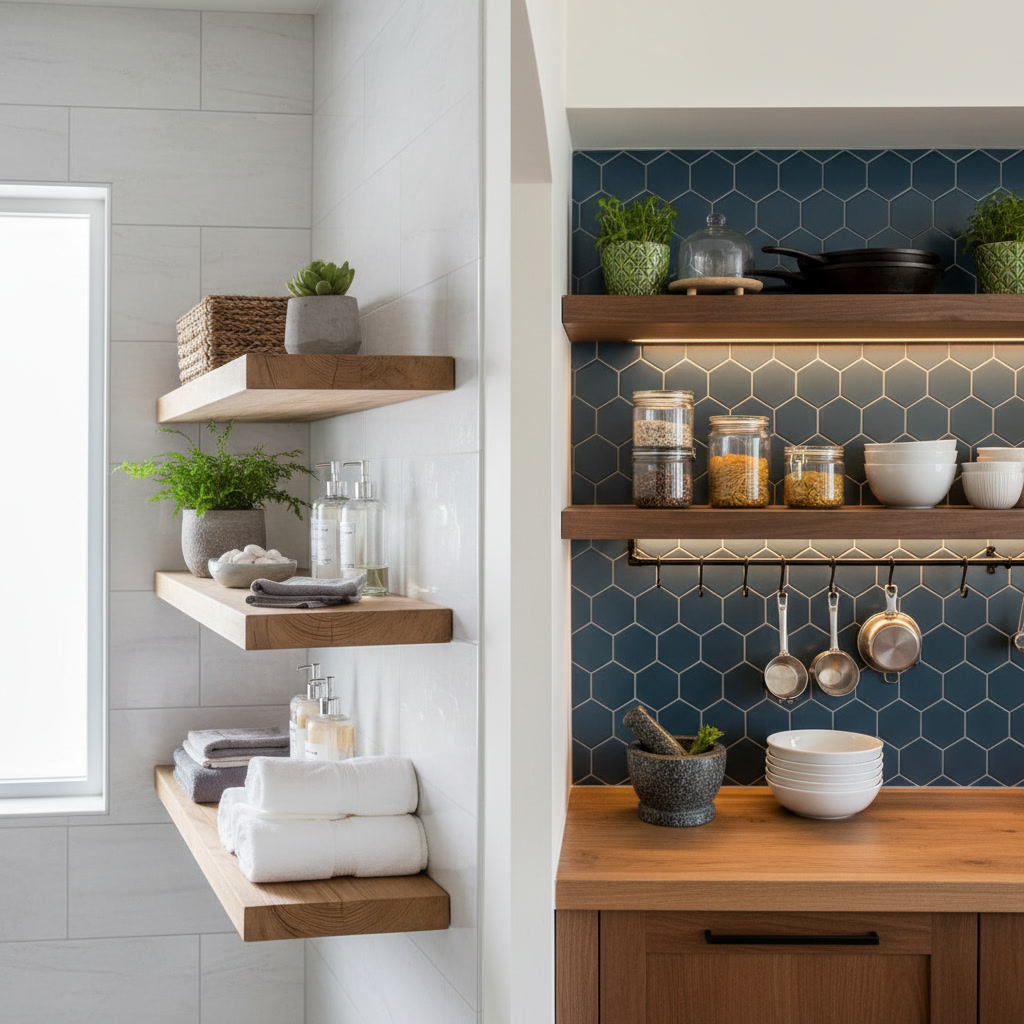
Special Considerations for Bathroom and Kitchen Shelves
Moisture-prone areas require additional planning. Standard MDF core shelves will swell and weaken when exposed to bathroom humidity or kitchen steam. Choose solid wood, marine-grade plywood, or properly sealed materials rated for wet environments. The brackets themselves should be stainless steel or have corrosion-resistant coatings.
Many bathroom installations face the added challenge of tile or other hard surface wall coverings. Drilling through tile requires specialized bits and techniques to avoid cracking. Mark your holes carefully, use painter’s tape to prevent bit slipping, and drill at slow speeds with steady pressure. Once through the tile, switch to a standard bit for the drywall and wood behind.
The same attention to detail that goes into quality Bathroom Repair work applies to bathroom shelving. Waterproofing, proper ventilation clearances, and code-compliant installations all matter when adding storage in wet areas.
Tools You Need for a Professional Result
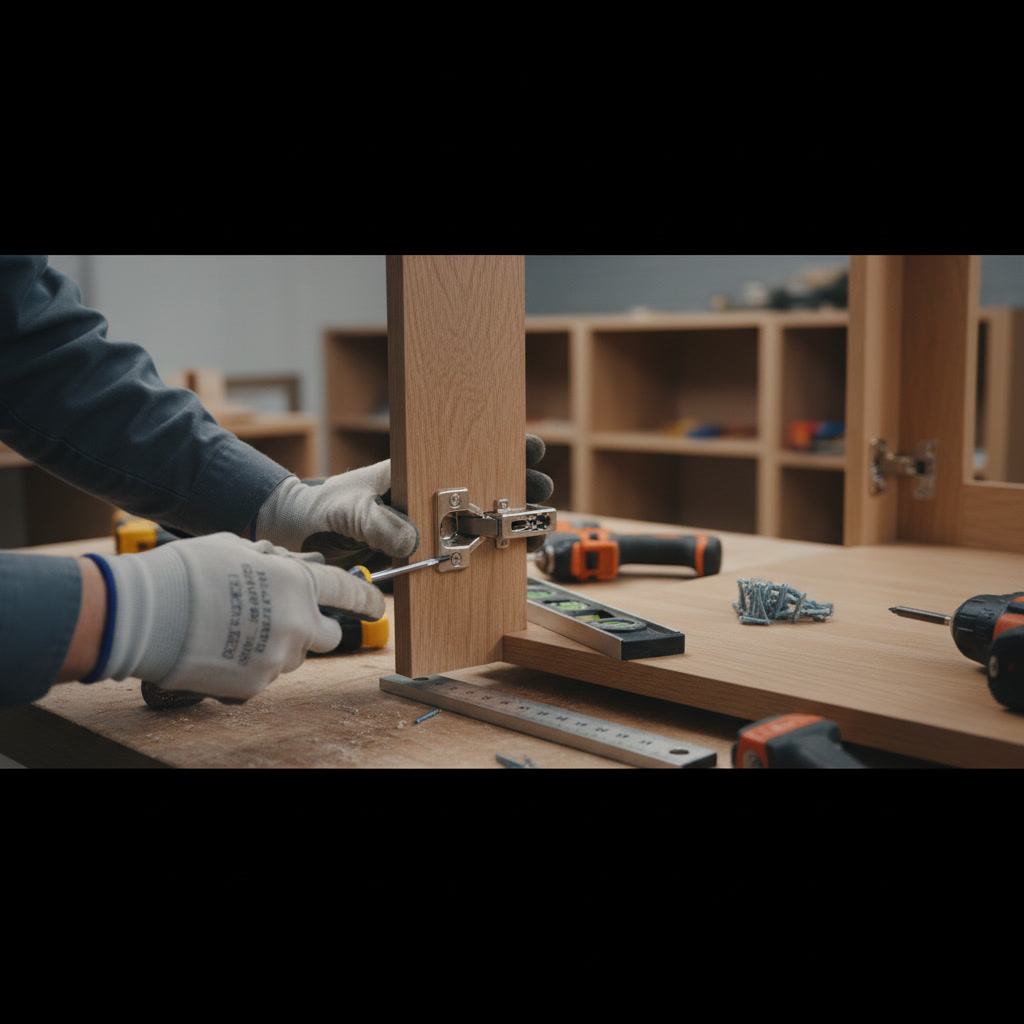
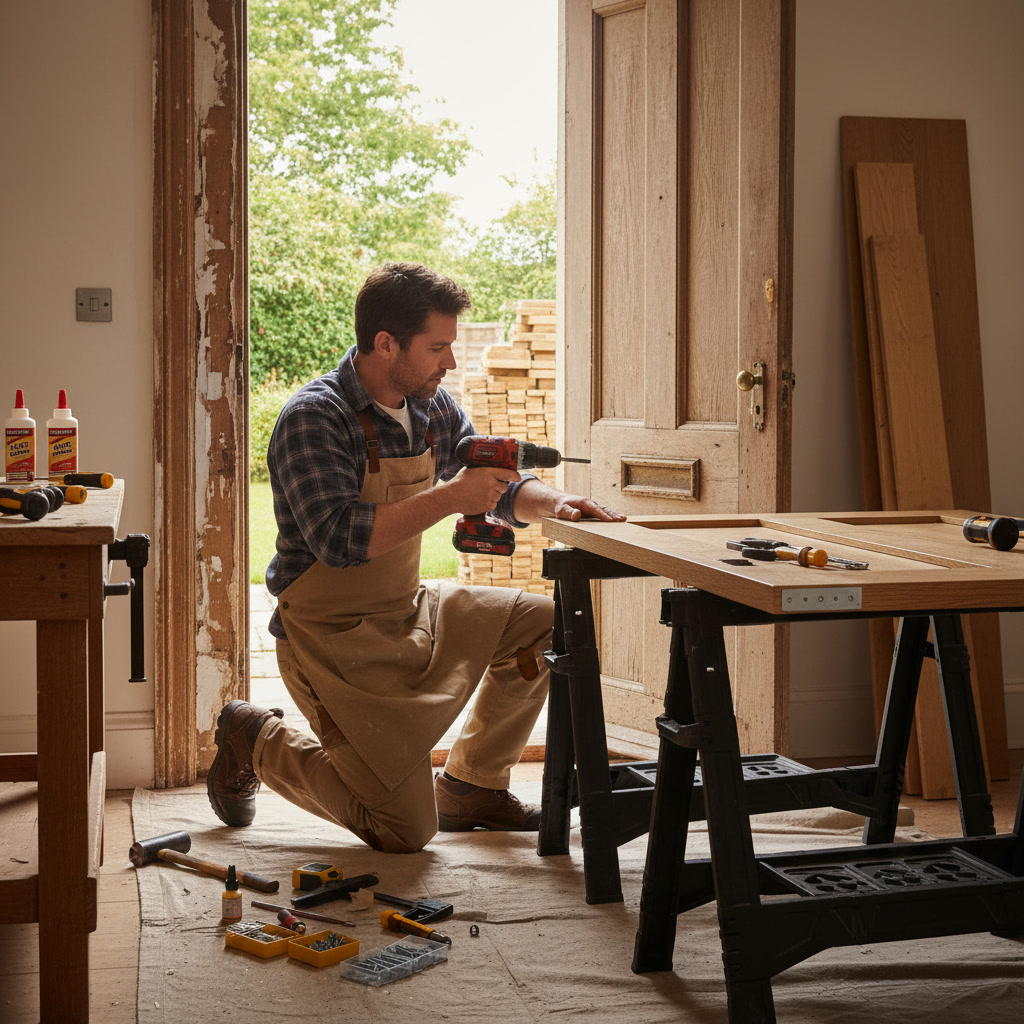
Quality tools make installation faster and more accurate. At minimum, you need a stud finder, four-foot level, drill with bits, pencil, tape measure, and appropriate screwdriver or socket set for your hardware. A laser level simplifies the process significantly, especially for installing multiple shelves or long spans.
Invest in a set of quality drill bits that include both wood and masonry options. A countersink bit helps screws sit flush without splitting wood. For heavier installations, an impact driver provides the torque needed to drive lag screws fully without stripping heads. These tools prove useful for many home projects beyond shelf installation, much like the versatile equipment needed for general Home Maintenance & Repairs.
When Professional Installation Makes Sense
Some shelving projects fall outside comfortable DIY territory. If you need to support extremely heavy loads, work with challenging wall materials like concrete or brick, or install shelves as part of a larger built-in system, professional help ensures the job is done safely and correctly the first time.
Older homes sometimes reveal surprises behind the walls, from outdated wiring to structural modifications that affect safe mounting locations. Professionals bring experience identifying these issues before they become problems. They also carry insurance that protects you if something goes wrong during installation, a consideration when working with shelves that will hold valuable or potentially dangerous items.
Getting Your Shelves Installed Right
Properly installed floating shelves transform your storage and display options while maintaining the clean lines that make them attractive. By choosing the right hardware, securing brackets into solid framing, and respecting weight limits, your shelves will serve reliably for years. The time invested in careful planning and precise installation pays off in both safety and appearance.
Whether you’re ready to tackle the installation yourself or prefer expert help, TC Home Services provides professional shelving solutions throughout the Anchorage area and surrounding communities. Our team has the experience and tools to handle any wall type and weight requirement, ensuring your floating shelves are both beautiful and structurally sound. Contact us at (907) 720-2662 to discuss your project and schedule an installation that meets your needs and timeline.