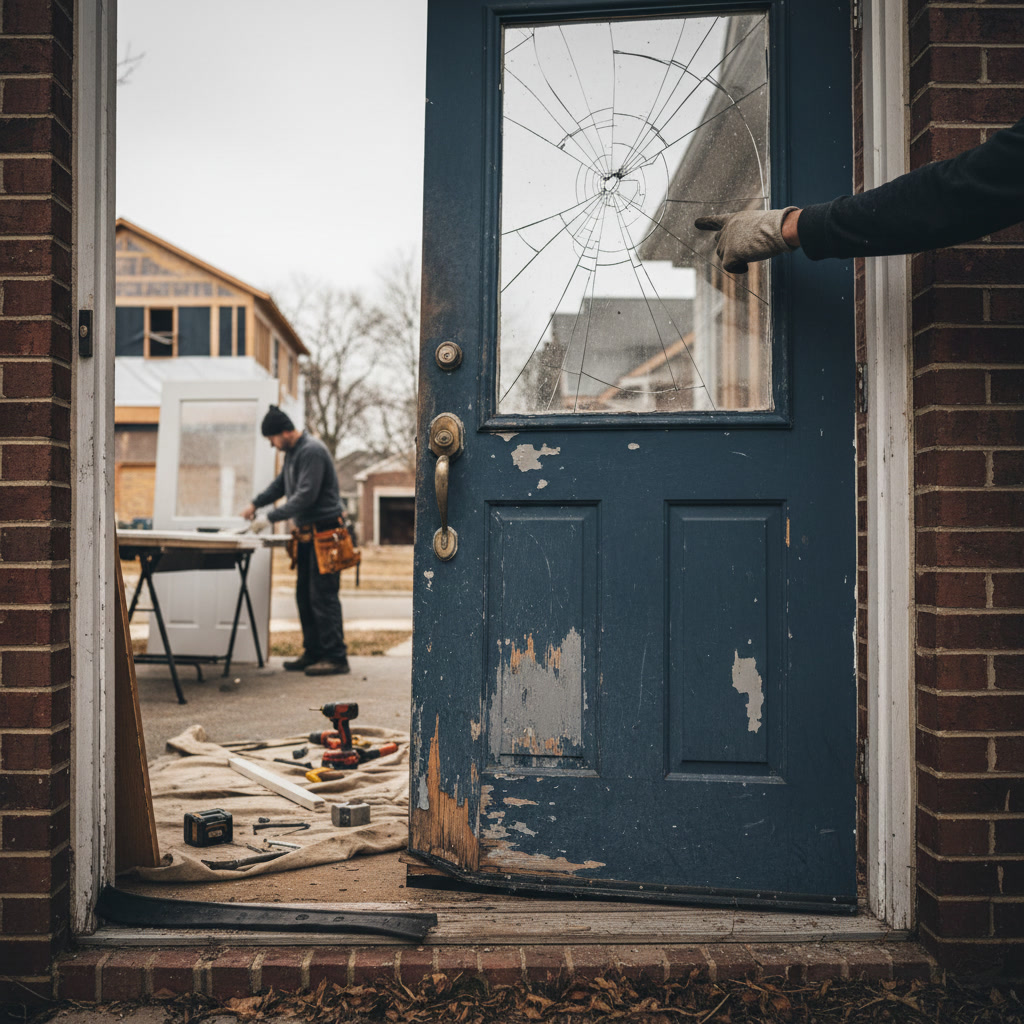
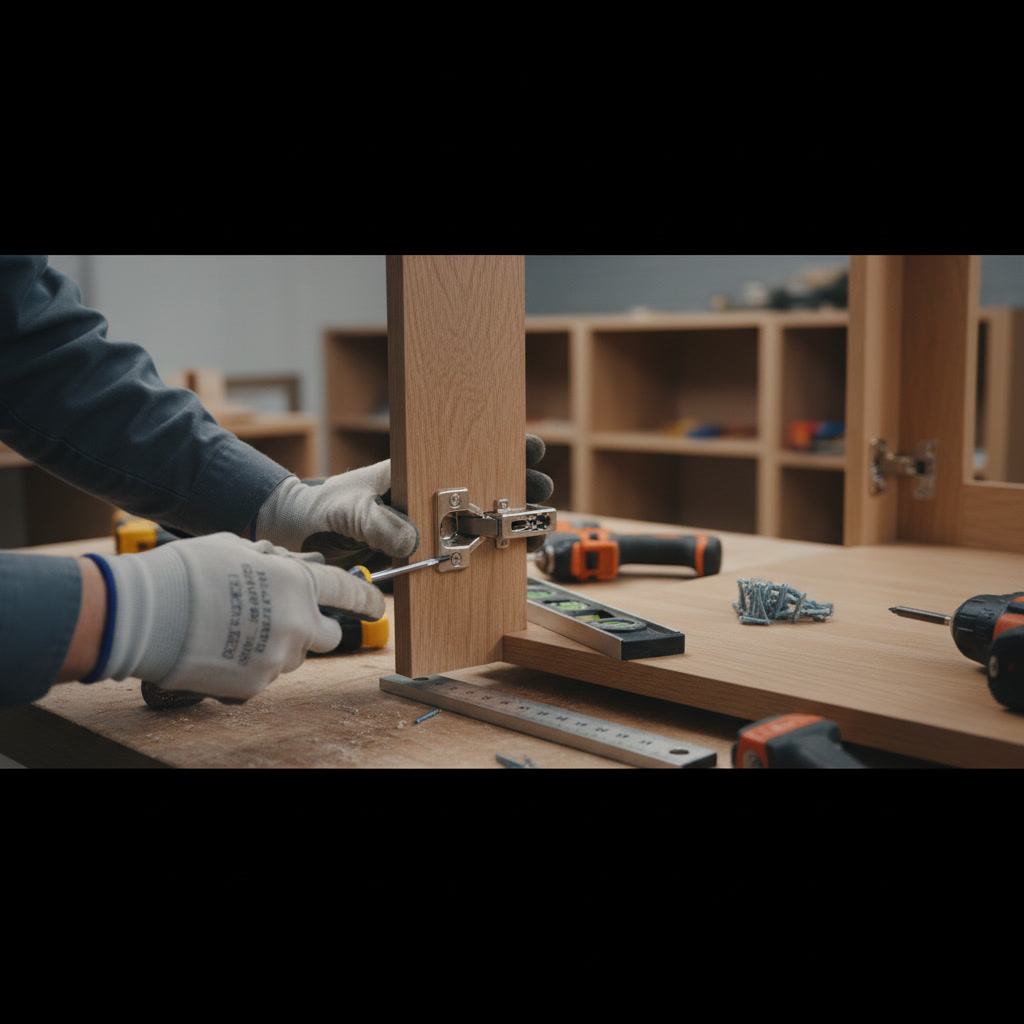
Cabinet doors that won’t close properly, gaps that shouldn’t be there, and hinges that squeak with every touch are among the most common frustrations in any kitchen. To fix cabinet hinges and restore proper door alignment, you need to identify whether the problem stems from loose screws, worn hardware, or incorrect hinge adjustment. Most alignment issues can be corrected with basic tools and about 15 minutes per door, while damaged hinges may require replacement to restore smooth, quiet operation.
Why Cabinet Doors Fall Out of Alignment
Cabinet doors shift out of position for several predictable reasons. Repeated opening and closing loosens mounting screws over time, especially in particle board or MDF cabinets where screws don’t grip as firmly as in solid wood. Temperature and humidity changes cause wood to expand and contract, which can throw doors slightly off square. The weight of the door itself creates constant stress on hinges, and cheaper hardware will bend or wear faster under normal use.
Settling in your home’s foundation can also contribute to cabinet misalignment. Even a slight shift in the wall or floor can make perfectly installed cabinets appear crooked. Paint buildup around hinge plates after multiple repainting jobs adds another layer that prevents doors from sitting flush. Understanding the root cause helps you choose the right fix instead of repeatedly adjusting the same problem.
Common Cabinet Hinge Problems You’ll Encounter
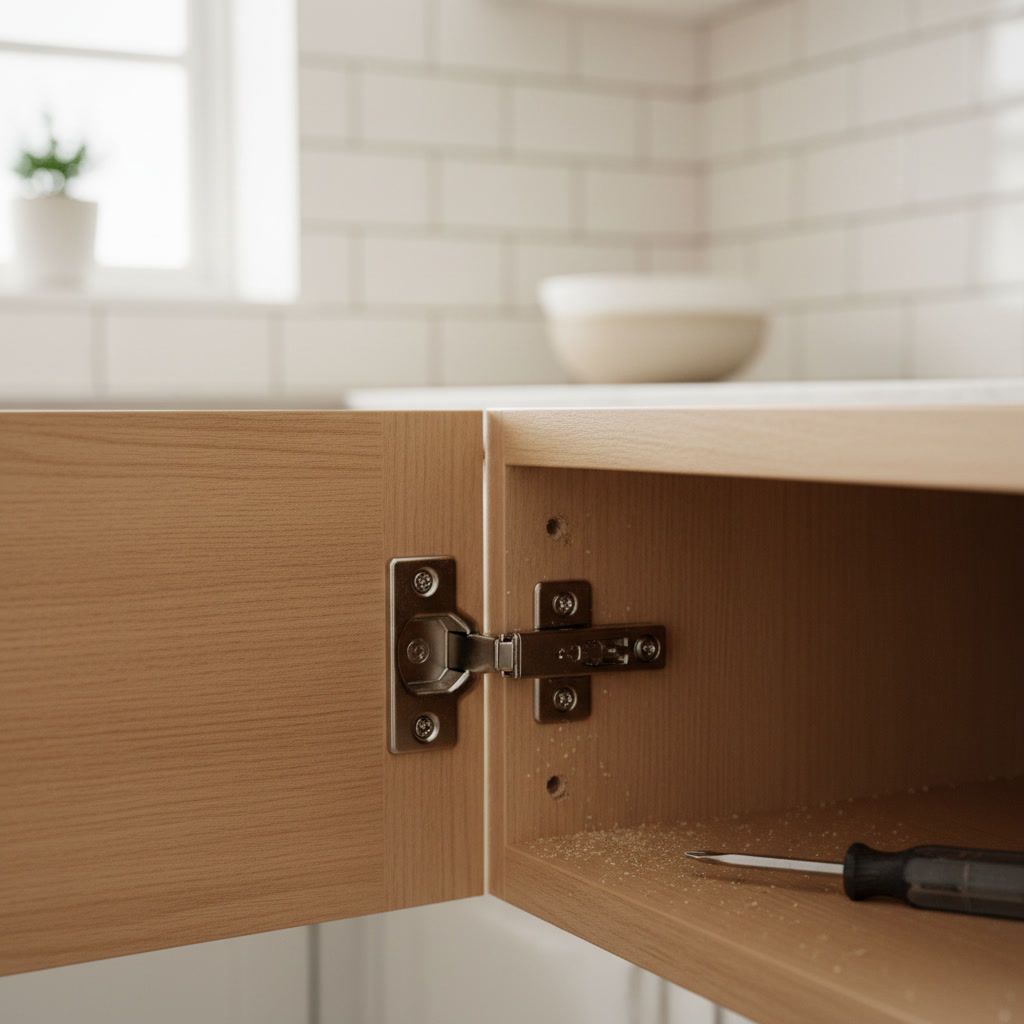
European concealed hinges, the most common type in modern kitchens, feature adjustment screws that control three dimensions of movement. These hinges fail when the clips that hold them to the door break, when adjustment screws strip out from over-tightening, or when the mounting plate pulls away from the cabinet frame. Traditional exposed hinges have fewer adjustment options but tend to last longer because their simpler design has fewer parts to fail.
Squeaking hinges indicate either lack of lubrication or metal-on-metal wear from a bent hinge arm. Doors that spring open after you close them usually have hinges mounted at slightly different heights or a warped door that creates tension. Gaps between the door and frame, or doors that overlap their neighbors, point to incorrect depth or side-to-side positioning that the adjustment screws can correct.
Tools and Materials for Cabinet Hinge Repair
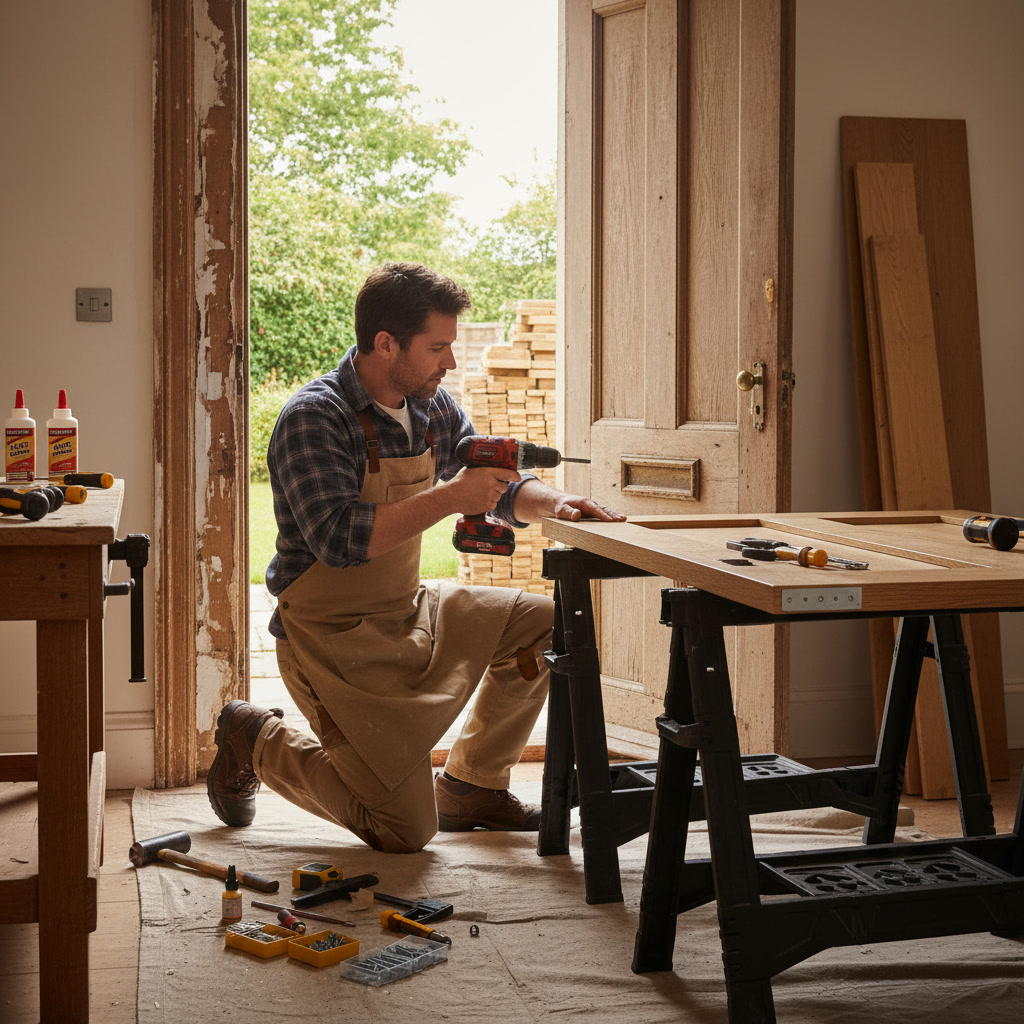
A Phillips head screwdriver handles most hinge adjustments, though some European hinges require a Pozidriv bit for a better fit. Keep a cordless drill with a screwdriver bit nearby for removing and reinstalling multiple screws quickly. A level helps verify that doors hang straight, while a tape measure ensures consistent gaps between doors. Wooden toothpicks or golf tees make excellent shims when you need to fill stripped screw holes.
Wood glue and longer screws can reinforce loose mountings in degraded cabinet material. Silicone-based lubricant works better than oil for hinges because it won’t attract dust or drip onto cabinet surfaces. For hinge replacement, bring the old hinge to the hardware store because even small variations in size or hole spacing will cause installation headaches. A combination square helps mark hinge positions accurately when installing new hardware.
How to Adjust European Concealed Hinges in Anchorage Homes
European hinges offer three adjustment points that control different aspects of door position. The side-to-side screw, usually closest to the cabinet frame, moves the door left or right to adjust the gap between adjacent doors. The depth screw, often in the center of the hinge arm, pushes the door closer to or farther from the cabinet box. The up-and-down screw, typically an eccentric cam or slotted hole at the mounting plate, raises or lowers the door.
Start adjustments with all screws slightly loosened so the door can move freely. Close the door and observe where it sits incorrectly, then make small adjustments of one-quarter turn at a time. Tighten each screw after adjustment and test the door movement before moving to the next correction. The depth adjustment is the most sensitive because even a small change dramatically affects how the door sits against the frame.
For doors that hit the frame before closing completely, turn the depth screw counterclockwise to pull the door away from the cabinet. If a gap appears between the closed door and frame, turn the depth screw clockwise. Side-to-side adjustments should create consistent gaps of about one-eighth inch between doors. Vertical adjustments may require moving both top and bottom hinges equally to keep the door level.
Fixing Stripped Screw Holes in Cabinet Frames
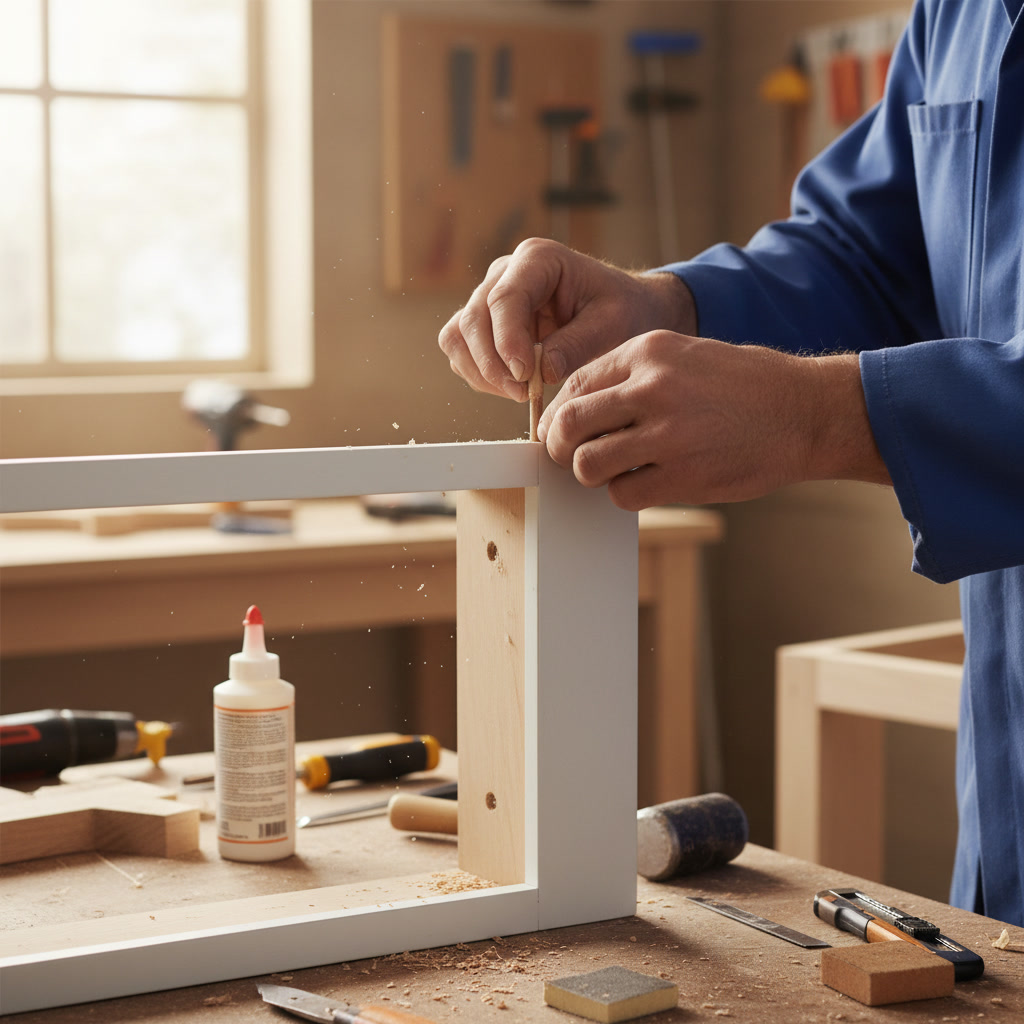
Particle board and MDF cabinets are especially prone to stripped screw holes because the material crumbles under repeated stress. When a screw spins without tightening, remove it completely and assess the damage. For minor stripping, insert two or three toothpicks coated with wood glue into the hole, break them off flush, and let the glue dry for an hour before driving the screw back in.
Severely damaged holes need a more robust repair. Drill out the stripped hole to three-eighths inch diameter, glue in a hardwood dowel cut to the depth of the hole, and let it cure overnight. Drill a new pilot hole through the dowel and install the hinge screw into solid wood. This repair is stronger than the original particle board and will outlast the cabinet itself.
Another option involves moving the hinge plate up or down by one inch to access fresh material. This works when you have enough clearance and the new position won’t interfere with shelves or door operation. Fill the old screw holes with wood filler, sand smooth after drying, and touch up with paint to hide the repair.
Replacing Worn or Broken Cabinet Hinges
When adjustment won’t solve the problem, replacement becomes necessary. Remove the door by unscrewing the hinges from the cabinet frame while supporting the door’s weight. Lay the door face-down on a padded surface to protect the finish. Unscrew the old hinges from the door and use them as templates to find exact replacements, paying attention to the overlay measurement that determines how far the door extends past the frame.
Three common overlay types exist: full overlay for doors that cover the entire face frame, half overlay for doors on shared center partitions, and inset for doors that fit inside the frame opening. Using the wrong overlay type will create gaps or cause doors to interfere with each other. Most European hinges are labeled with their overlay specification, typically 1/2 inch, 3/4 inch, or full overlay.
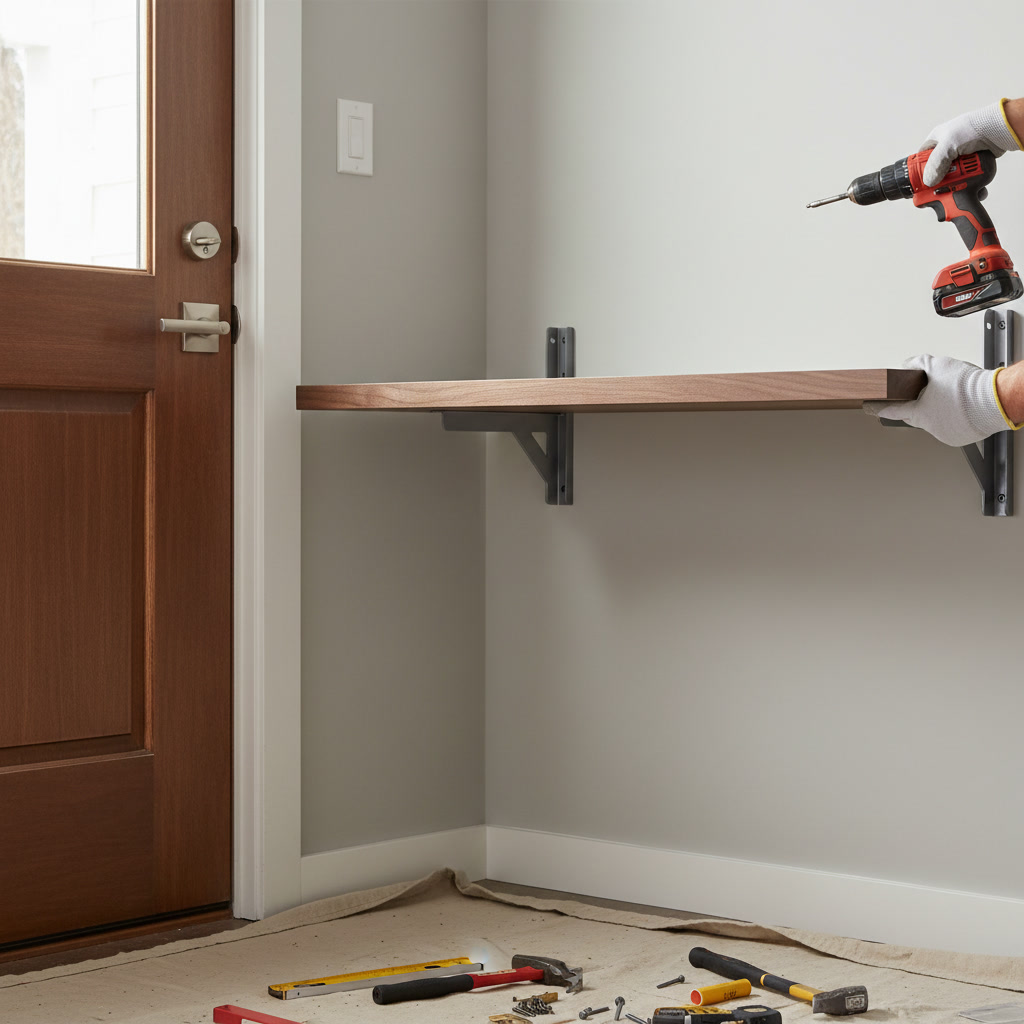
Install new hinges in the existing holes when possible, checking that the mounting plate sits flat against the cabinet frame. If you’re upgrading from old hinges to a different style, you may need to drill new holes and fill the old ones. The shelving and cabinet installation process requires precision in hinge placement to ensure all doors align properly across the entire kitchen.
Correcting Cabinet Doors That Won’t Stay Closed
Doors that slowly swing open have lost their closing tension or have hinges mounted at different heights creating a twist. Most European hinges include a built-in soft-close damper or spring mechanism that pulls the door shut for the last inch of travel. If this feature stops working, the internal spring has likely worn out and the entire hinge needs replacement because these mechanisms can’t be serviced separately.
Traditional hinges without self-closing features rely on magnetic catches or roller catches to hold doors shut. When these fail, the catch may have loosened and moved out of alignment with the strike plate on the door. Adjust the catch position so the magnet or roller engages firmly when the door closes. If the catch hardware is worn, replacement catches cost just a few dollars and install in minutes.
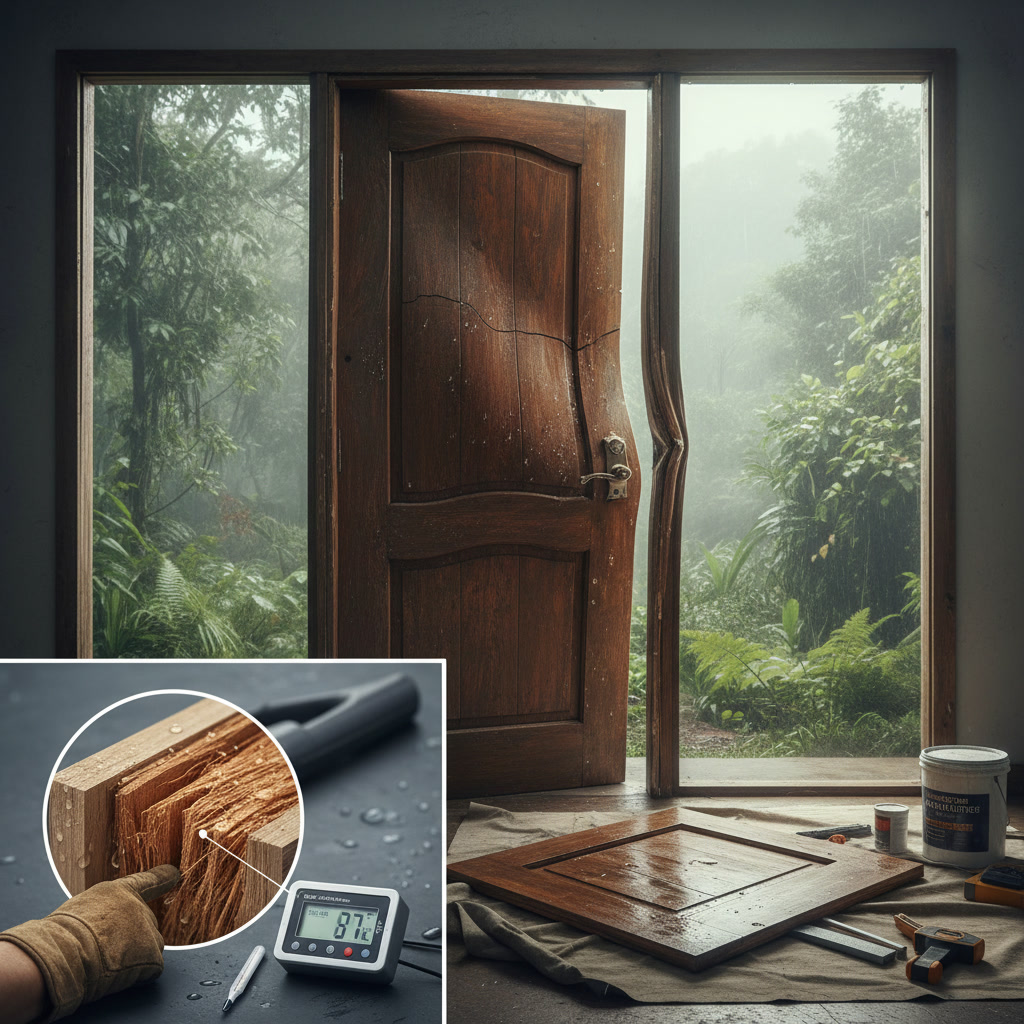
Warped doors present a more challenging problem because the wood has permanently changed shape. Minor warping can sometimes be compensated for by adjusting the hinges to put slight pressure against the warp, but severely warped doors need replacement. Check for warping by closing the door and looking for gaps that change size from top to bottom or side to side.
Dealing with Squeaky and Sticky Cabinet Doors
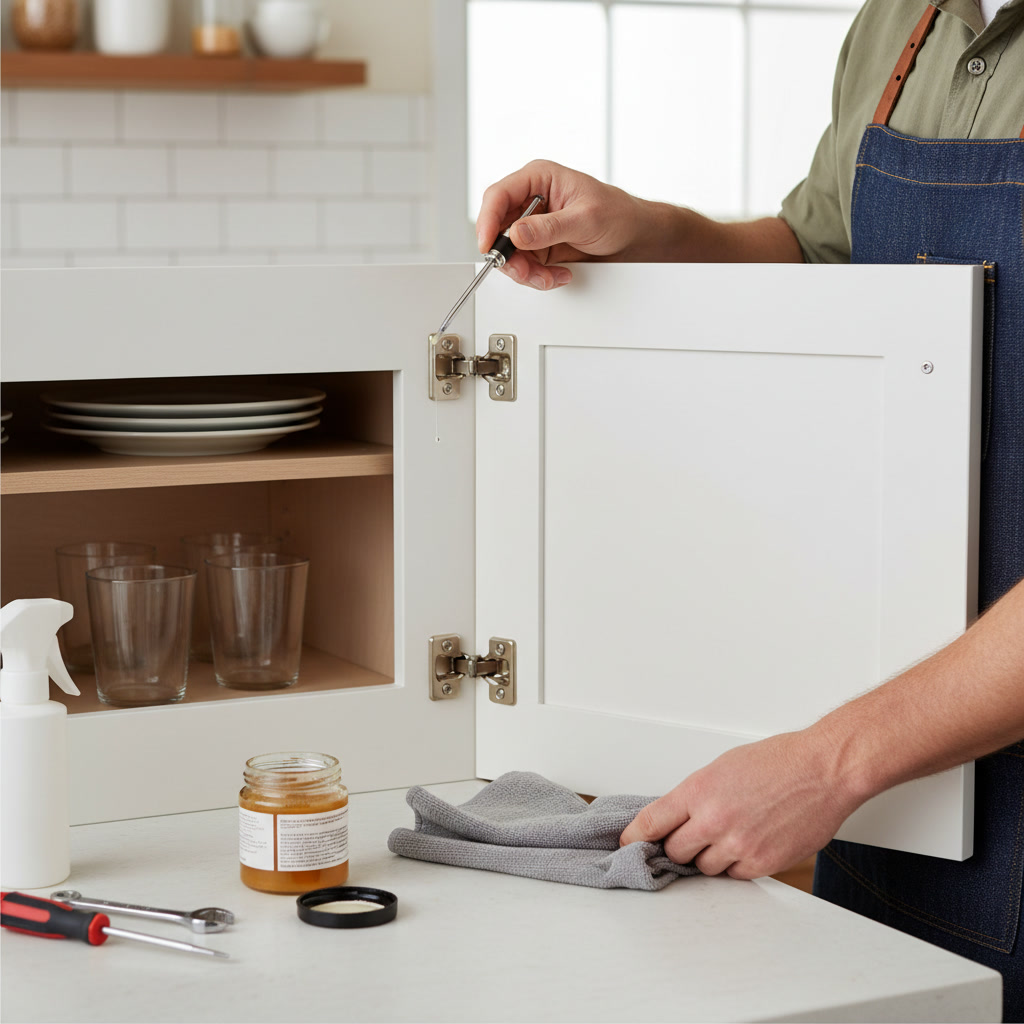
Squeaking hinges need lubrication on the pivot points where metal moves against metal. Spray a small amount of silicone lubricant on the hinge barrel and work the door back and forth several times to distribute the lubricant. Wipe away any excess to prevent drips. Avoid using WD-40 or similar petroleum-based products because they attract dust that will eventually make the squeak worse.
Doors that stick or require force to open often have paint binding them to the frame. Run a utility knife along the edge where the door meets the frame to cut through paint layers. Sand the door edge lightly if paint buildup is significant, then touch up with fresh paint. Similar to issues that arise when dealing with doors throughout the home, paint accumulation is a common problem addressed in home maintenance and repairs.
Humidity causes wood doors to swell and stick, especially during summer months or in homes without climate control. If the sticking is seasonal, you can live with minor inconvenience rather than sanding away material that will be needed when the wood contracts in winter. For persistent sticking, remove the door and sand the edge that’s rubbing, removing just enough material to create proper clearance.
Professional-Level Tips for Perfect Cabinet Alignment
Professional installers use a simple trick to align multiple doors perfectly: they adjust all doors with a consistent reveal, the gap between the door edge and cabinet frame. A reveal of one-eighth inch creates clean lines and allows doors to open without binding. Measure the reveal at multiple points around each door to ensure consistency, adjusting hinges until all measurements match.
When working on a full wall of cabinets, start your adjustments in the center and work outward toward the ends. This approach prevents cumulative errors from compounding across multiple doors. Use a long straightedge or level across several doors simultaneously to verify they all sit in the same plane without any doors protruding or receding.
Here’s an expert insight most DIY guides miss: humidity changes in Alaska’s climate can cause cabinets to shift seasonally, particularly in homes without consistent climate control. If you’re making hinge adjustments in summer when wood has expanded, remember that winter contraction might create gaps where everything fit perfectly in July. Adjust conservatively and plan to make minor tweaks when seasons change rather than over-correcting for current conditions.
Knowing When DIY Repair Isn’t Enough
Some cabinet problems exceed what hinge adjustments can solve. When the cabinet box itself has shifted due to wall movement or foundation settling, no amount of hinge tweaking will make doors align properly. Water damage that has swollen or rotted the cabinet structure requires professional assessment and possibly complete cabinet replacement. Doors that have warped beyond minor correction need new doors fabricated to match your existing cabinets.
If you’ve made repeated adjustments and doors still won’t align, the hinges may be installed in the wrong positions from the original installation. Relocating hinges requires filling old holes, drilling new ones precisely, and ensuring the new positions will support the door’s weight properly. This level of work benefits from professional tools and experience to avoid creating more problems than you solve.
Complex hinge systems with integrated soft-close mechanisms or specialized mounting requirements can be frustrating for homeowners without cabinet installation experience. The cost of replacing expensive European hinges incorrectly often exceeds what a professional would charge to do the job right the first time. Similar to knowing what you can fix yourself and when to call a door repair professional, cabinet work has limits where expertise pays off.
Keeping Your Cabinets Working Smoothly for Years
Regular maintenance prevents most cabinet hinge problems before they develop. Tighten hinge screws once or twice a year as part of routine home care, checking all doors for looseness or misalignment. Lubricate hinges annually with silicone spray to prevent squeaking and reduce wear on moving parts. Wipe cabinet surfaces and hardware with a damp cloth to remove cooking grease that can gum up hinges and attract dirt.
Avoid slamming cabinet doors because the impact loosens screws and can crack hinge mounting plates in particle board cabinets. Teach family members to close doors gently, or install soft-close hinges that prevent slamming automatically. When you notice a door starting to sag or misalign, address it immediately rather than waiting for the problem to worsen and potentially damage the cabinet structure.
Simple hinge and alignment problems respond well to the adjustments and repairs covered here, restoring smooth operation and professional appearance to your cabinets. The techniques work equally well on kitchen cabinets, bathroom vanities, and any other hinged storage in your home. Most homeowners can handle basic adjustments with common tools and a bit of patience, saving the cost of a service call for minor issues.
TC Home Services brings professional expertise to cabinet repairs throughout the greater Anchorage area when problems go beyond simple adjustments or when you prefer to have the work done right without the trial and error of DIY attempts. Our team has the specialized tools and experience to diagnose complex alignment issues, repair damaged cabinet structures, and install new hardware that will last for years. Whether you need a single stubborn door corrected or a full kitchen’s worth of cabinets brought back into perfect alignment, we’re ready to help. Call (907) 720-2662 to schedule service and get your cabinets working the way they should.